Ingredients of making the Gulab Jamun
for gulab jamun
- 1 cup khoya (mawa or dried evaporated milk solids) or 200 grams khoya
- ¾ cup grated paneer or 100 grams of paneer (cottage cheese)
- 3 tablespoon all purpose flour
- 2 tablespoon fine sooji (rava or semolina)
- 4 green cardamoms – powdered in a mortar-pestle or
- ½ teaspoon cardamom powder
- 1 tablespoon milk or add as required
- ¼ teaspoon baking powder
- oil for deep frying the gulab jamun
for sugar syrup
- 250 grams sugar or about
- 1.75 cup sugar1 cup water
- 1 tablespoon rose water
- 1 tablespoon milk (optional) – read notes
Method of making the Gulab Jamun
making gulab jamun balls
- Take khoya (mawa or evaporated milk) in a bowl. Mash it very well. There should be no lumps. You can also grate and then mash the khoya.
- Then add grated paneer, rava (sooji), all purpose flour (maida), baking powder and cardamom powder to the mashed khoya. There should be no lumps in both the mawa and paneer.
- As if they are there, then you will find the texture of the gulab jamun not so good. The bits and pieces of mava or paneer will give a bite in the mouth, when you have the gulab jamun. They won’t be smooth.
- Mix well. Add milk and gather together to form a dough with milk. Don’t knead.
- Just gently mix. If you are unable to form balls or if the mixture appears dry, then add a few teaspoons of milk. Cover the dough and keep aside for 30 mins.
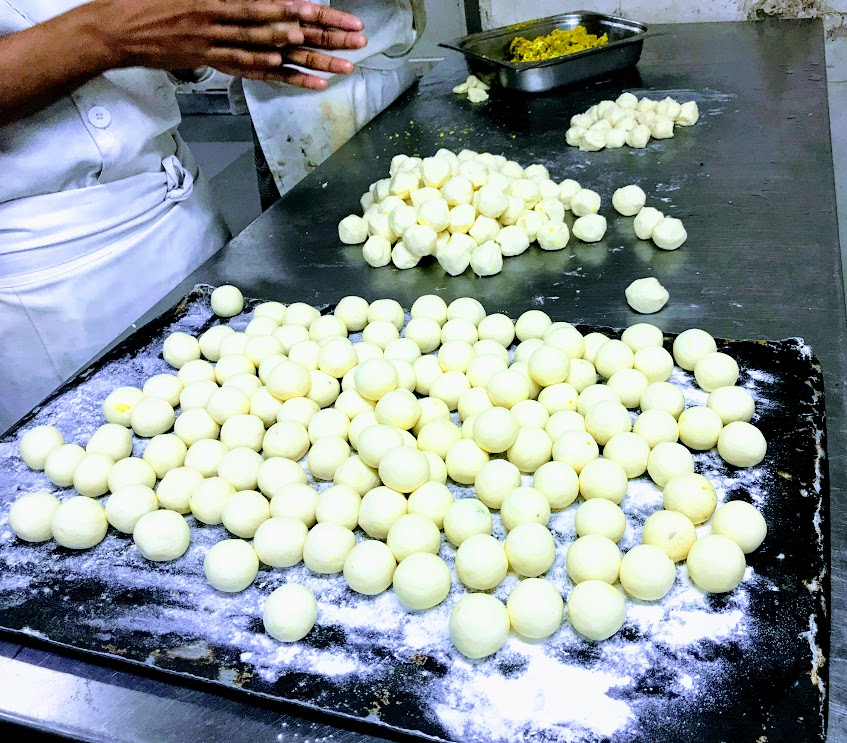
- Make small balls from the dough. Cover the balls and keep aside.
Making sugar syrup for gulab jamun
- Dissolve sugar in water. Heat the sugar solution till it become sticky. You just need to switch off the fire before the syrup reaches a one thread consistency.
- Add rose water and stir. Keep the sugar solution aside. On cooling if the sugar syrup crystallizes, then just add 2 to 3 tbsp water and warm the syrup again. It will again return to a liquid state.
frying gulab jamun
- Meanwhile, while the sugar syrup is cooking, heat oil till its medium hot. Lower the flame and wait for a minute. Then gently place the gulab jamun in the oil.
- Once they start to have tiny golden spots, keep on rotating them in the oil, so that the gulab jamun are evenly browned.
- Remove the gulab jamun and then drain them on kitchen paper towels to remove excess oil.
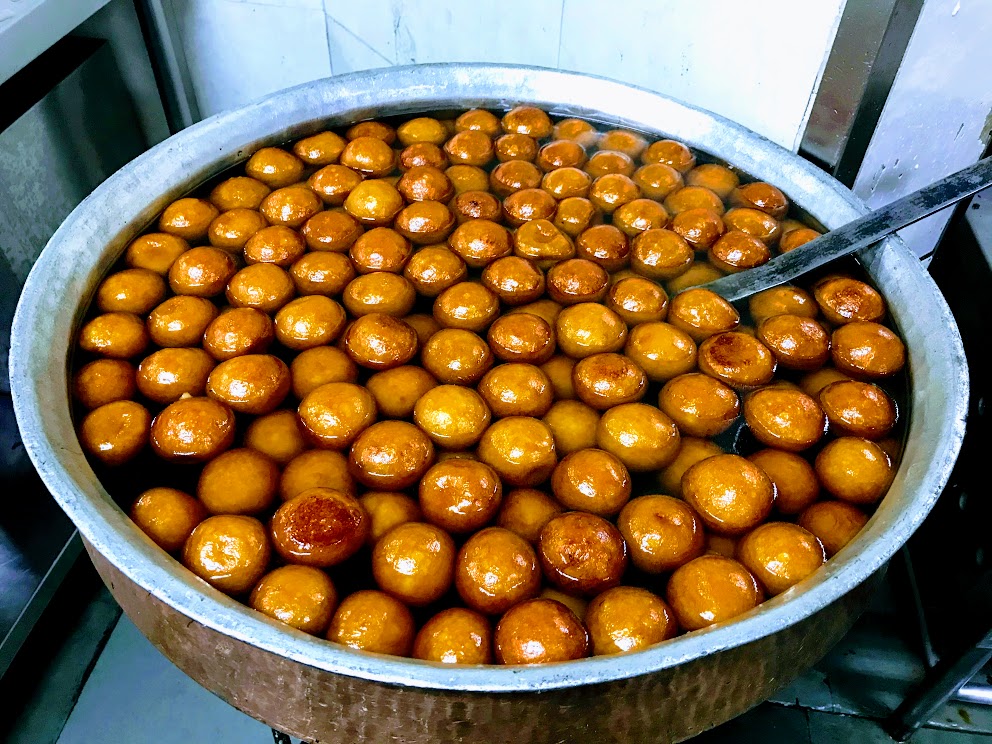
- Then place the hot gulab jamun in the sugar syrup. Continue frying the gulab jamun this way in batches.
- When all the gulab jamun are placed in the sugar syrup, then keep the whole pan with the sugar syrup and gulab jamun, on a low flame for 1 to 2 minutes till the jamun become soft.
- Heating helps the gulab jamun to absorb the syrup and become soft. The jamun increase a bit in size. Don’t overcook as then the jamun can break.
- Use a large pan, so that the gulab jamun are not overcrowded and you can easily stir them gently while they are simmering.
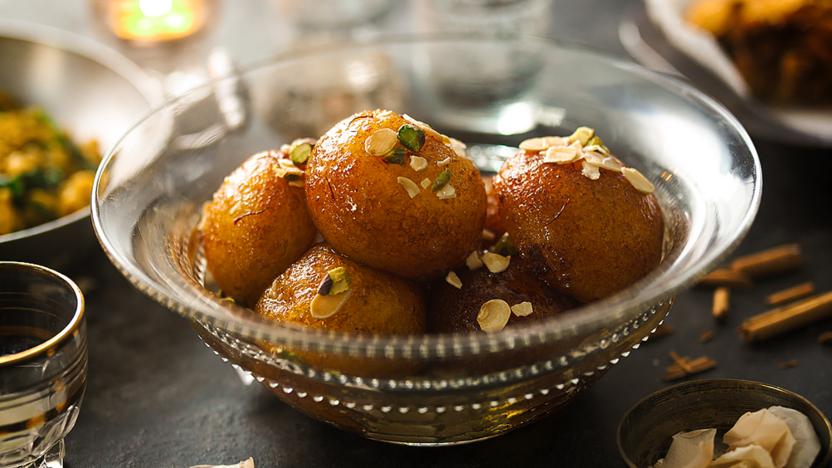
- Serve gulab jamun warm or at room temperature. You can also chill the gulab jamun and serve them cold. Garnish the gulab jamun with rose petals or almond Flakes.
Please Note
1. If the sugar syrup has impurities, then add milk and simmer. A layer of scum will be formed. Remove this layer with a spoon.